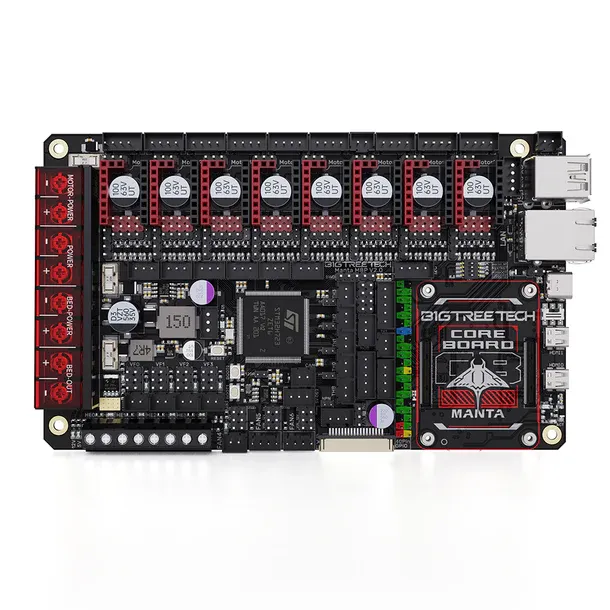
How to connect BTT TFT displays to BTT Manta boards

Before you start your touch screen adventures, I highly recommend you read the Official Raspberry Pi Documentation, specially the Official 7" Display section.
Wiring up your display
Connect your display and motherboard using the included ribbon cable. Make sure that the orientation is correct. Usually one end of the cable is connected with the contact pads facing towards the PCB, and the other end facing away.
Turn on your printer, and touch all the wires in the ribbon cable. If you feel the cable heating up, you have wired the ribbon cable incorrectly, flip one end over.
Setting up your CM4
Download the DSI display drivers:sudo wget https://datasheets.raspberrypi.com/cmio/dt-blob-disp1-cam1.bin -O /boot/dt-blob.bin
Add the following line to /boot/firmware/config.txt:dtoverlay=vc4-kms-dsi-7inch
Reboot your raspberry pi by running sudo reboot
Watch the display as the printer boots up. If you see the console, you have successfully installed your TFT display to your Manta board. If you do not see a printer menu after boot, install Klipper Screen using KIAUH.